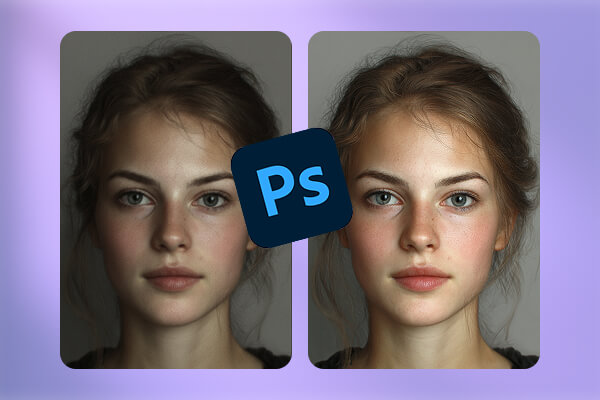
We’ve all faced the frustration of an image being too small or pixelated for a critical project, leaving us searching for a solution on how to increase resolution of image in Photoshop. As the industry-standard software, Photoshop offers a powerful toolset for this, but it’s crucial to understand it as an art of “intelligent reconstruction” rather than a magic trick. The final quality is always tied to the original image, as enlarging a blurry or compressed picture will only magnify its flaws. In this article, Artguru will provide 2 proven methods, teaching you step by step how to improve photo quality in Photoshop, along with a useful alternative to Photoshop.
What Are Pixels, Dimensions, and Resolution?
Before diving into the operational steps, it’s crucial to understand the theory. The most common mistake when increasing resolution comes from confusing dimensions and resolution (PPI). Many people think changing a 72 PPI image to 300 PPI in Photoshop will magically improve its quality, but this often leads to poor results. Clearly understanding these concepts is the key to solving the problem correctly.
(You might have noticed that the word “resolution” is used twice in this paragraph. It’s important to understand that when we talk about increasing resolution, we are specifically referring to the quality of the image. In Photoshop, resolution is a technical term that refers to pixel density (PPI).)
Pixels: The Building Blocks
Imagine a digital image as a giant mosaic puzzle. A pixel is the smallest piece of that puzzle—a tiny, single-colored square. Digital images are composed of thousands or even millions of pixels, which are the essential building blocks.
Dimensions: The Image’s Blueprint
The dimensions of an image are defined by the total number of pixels, determined by its width and height. For example, dimensions of 1920 x 1080 pixels mean the image is 1,920 pixels wide and 1,080 pixels tall. This value represents the image’s true “substance”—the absolute amount of information and detail it holds. No matter how you display or print it, the image is always composed of this specific number of pixels.
Resolution: The “Instruction” for Printing
Resolution, measured in PPI (Pixels Per Inch), does not change the total number of pixels in your image. Instead, it’s an instruction for a printer, telling it how many pixels to place on each inch of physical paper.
Think of it like planting seeds: you have 3,000 seeds (your pixels).
- You can plant them densely in a small 10-inch field, creating a high density of 300 PPI.
- You can scatter them sparsely across a large 41-inch field, resulting in a low density of 72 PPI.
The total number of seeds (the pixel dimensions) never changes, but their density and the final physical size of the field do.
What Photoshop Can and Can’t Do?
When we talk about “increasing resolution,” we are actually referring to increasing the image’s pixel dimensions, a process technically known as Upsampling or Resampling.
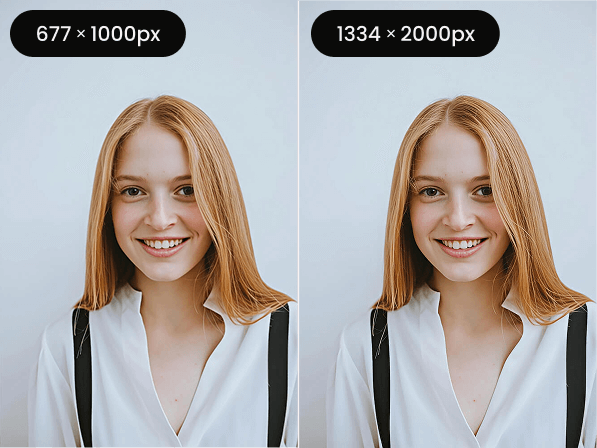
The core of this process is interpolation. When you instruct Photoshop to enlarge a 1000×1000 pixel image to 2000×2000 pixels, the software needs to fill in the extra space with new pixels. It does this by analyzing the color and brightness of surrounding pixels and making an “educated guess” about what the new pixels should look like. Essentially, it uses information from the existing pixels to predict and generate the missing ones, ensuring the enlarged image maintains smoothness and clarity.
This also leads to the fundamental principle of image enlargement—”Garbage In, Garbage Out.” If your original image is blurry, out of focus, has excessive noise, or severe JPEG compression artifacts (mosaic blocks), the upsampling process will not only enlarge the image but also mercilessly magnify these flaws. Photoshop cannot recover details that never existed; it can only optimize and reconstruct based on the available information. Therefore, starting with the highest quality source file possible is the prerequisite for achieving the best enlargement results.
Increase Photo Resolution in Photoshop in 5 Simple Steps
Now that we’ve mastered the basic theory, we can move on to the practical steps. An ideal enlargement workflow isn’t just about clicking “OK” in the “Image Size” dialog box; it begins with careful preparation and ends with meticulous post-sharpening. We’ve broken down this professional process into five clear and simple steps, designed to help you develop good habits and achieve consistent, high-quality results.
Step 1: Prepare Your Photo to Photoshop
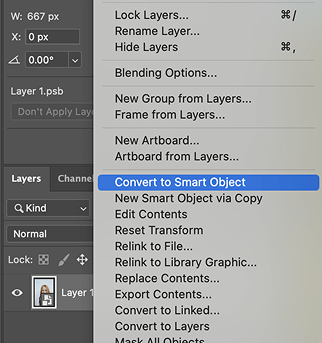
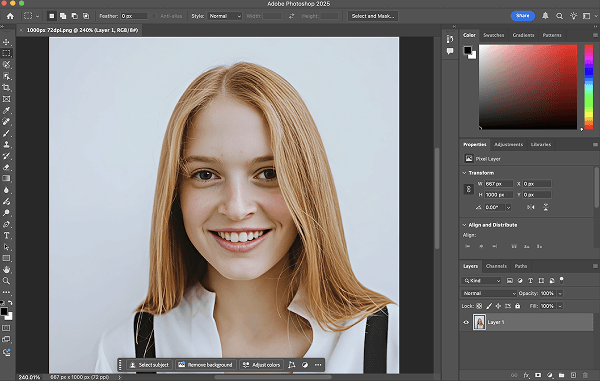
Open your image in Photoshop. Go to the “Layers” panel in the bottom right, right-click on your image layer, and select Convert to Smart Object from the menu. You’ll see a small icon appear in the bottom right corner of the layer thumbnail, indicating it has been successfully converted.
A “Smart Object” is crucial because it makes all edits, like resizing and applying filters, non-destructive. It acts as a protective container that preserves the original image data, allowing you to scale it repeatedly without the quality loss that affects regular layers. This habit is the cornerstone of a professional and flexible workflow.
Step 2: Open the “Image Size” Command
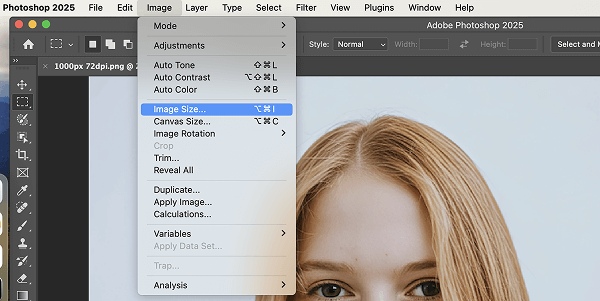
In the top menu bar, select “Image” > “Image Size.” Or try this shortcut: Ctrl+Alt+I on Windows or Cmd+Option+I on Mac.
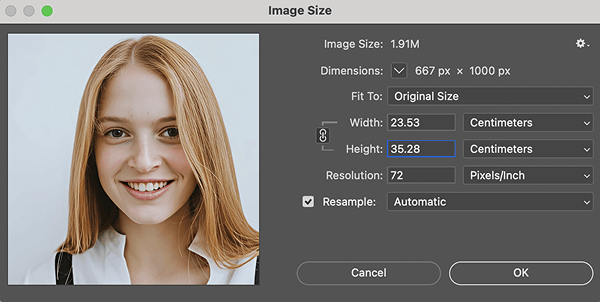
You can click and hold on the image inside the preview window at the left to see a quick before-and-after comparison with the original image. The core options you’ll need to focus on are the “Dimensions” fields at the top and the “Resample” checkbox at the bottom.
Step 3: Set Your Target Dimensions and Resolution
With the “Image Size” dialog open, follow these settings:
- Check the “Resample” box. This is the essential command that allows Photoshop to create new pixels.
- Lock the chain icon between “Width” and “Height” to maintain the aspect ratio and prevent distortion.
- Enter your desired value in the Width, Height, or Resolution fields. You can select your preferred units (e.g., Pixels, Inches) from the dropdown menus.
How to Set Resolution (The Print Instruction):
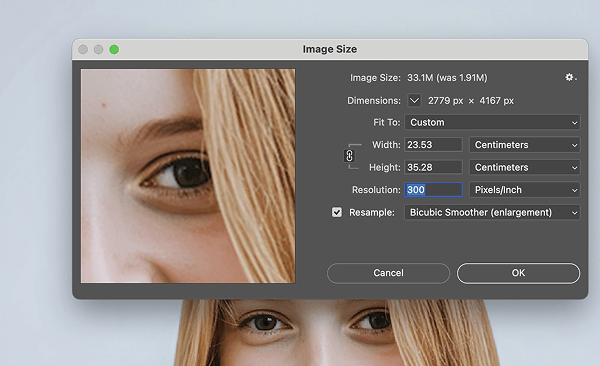
- For high-quality prints: If your image will be used for magazines, brochures, fine art giclée prints, or other close-viewing printed materials, set the resolution to 300 PPI. This is the industry-recognized standard for high-quality printing.
- For web and screen display: A setting of 72 to 150 PPI is sufficient. The traditional standard is 72 PPI, but considering the prevalence of high-density (Retina) screens, using a slightly higher value (like 150 PPI) can make the image appear sharper on these devices. Remember, for screen display, pixel dimensions are the deciding factor.
- For large-format prints (like posters, banners): Here, the concept of “viewing distance” comes into play. A giant poster viewed from 3 meters away doesn’t need the ultra-high precision of 300 PPI; typically, 100 to 150 PPI is enough to produce an excellent effect.
Step 4: Choose the Suitable Resampling Algorithm

This dropdown menu determines the mathematical method (interpolation) Photoshop uses to add or delete pixels. Your choice depends on whether you are enlarging or reducing the image.
When Enlarging an Image (Upsampling):
- Preserve Details (enlargement): This is Adobe’s most advanced, AI-powered algorithm and the best choice for nearly all enlargements. It intelligently preserves sharp edges and textures, delivering the highest quality results.
- Bicubic Smoother: The traditional option for upsampling. Choose this if Preserve Details looks unnatural for your specific image, or if you desire an exceptionally smooth finish.
When Reducing an Image (Downsampling):
- Bicubic Sharper: This is the recommended choice for making images smaller. It applies a slight sharpening as it reduces pixels, which helps retain crisp details that might otherwise be lost.
Step 5: Apply Smart Sharpen

The interpolation process during image enlargement inevitably causes slight softening or blurring. Therefore, a final sharpening step is crucial to restore edge clarity and overall “pop”.
Go to the top menu bar, select “Filter” > “Sharpen” > “Smart Sharpen.” Since your layer is a Smart Object, this filter will be applied as a non-destructive “Smart Filter,” allowing you to go back and adjust its parameters at any time.

For beginners, you can start with these parameters: set “Remove” to “Lens Blur,” “Amount” to 100-150%, “Radius” to 1-2 pixels, and “Reduce Noise” to 10%.
Be sure to zoom your image view to 100% to judge the sharpening effect. Over-sharpening creates ugly “halos” (bright or dark lines along object edges) and an overly “greasy” or “grainy” texture. The goal is to restore clarity, not to make the image look unnatural.
Finally, save your new image to the device.
How to Enhance Photo Quality in Photoshop with AI Techniques
While the 5-step method is great for everyday tasks, Photoshop has a more advanced AI tool for when you need the absolute best results: Super Resolution. This is Adobe’s premier technology for enlarging images. Instead of simply stretching your photo, it uses an AI model trained on millions of images to intelligently double the width and height (giving you four times the pixels). This creates much sharper results with cleaner edges than any traditional method.
Super Resolution works with high-quality RAW, TIFF, and JPEG files (note: PNGs are not supported). It delivers its most impressive results on RAW files, as it can analyze the original, uncompressed sensor data to produce the cleanest enlargement. For JPEGs and TIFFs, it still works wonders by intelligently upscaling the existing image information.
Now, we’ll walk through how to use Super Resolution on a JPEG image.
Step 1: Open in Camera Raw
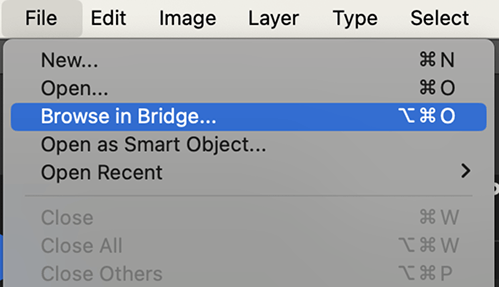
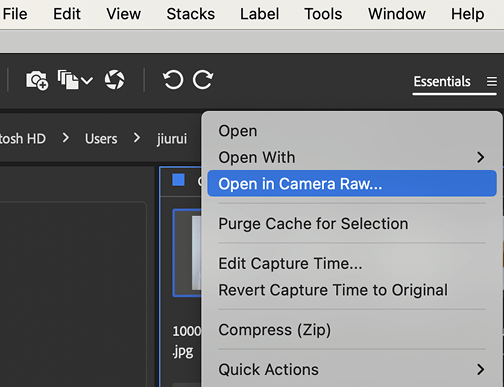
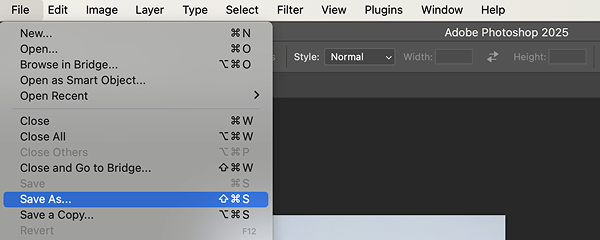
Go to File > Browse in Bridge, find your JPEG, right-click it, and select Open in Camera Raw.
Step 2: Activate Enhancement

Once in the Camera Raw window, find Super Resolution in the Detail panel on the right and check the box. Then, AI will quickly increase the image’s resolution.
Step 3: Download Your Image
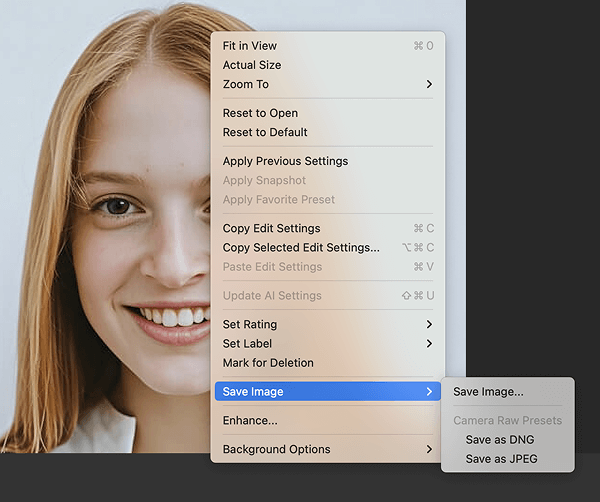
After the AI has finished enhancing, right-click your image, select Save Image, and save it according to your needs.
Alternative to Photoshop: Use an AI Photo Enhancer to Increase the Resolution of Your Images
If you want to free yourself completely from complex operations, you can use another AI tool, a perfect alternative to Photoshop, to enhance your image resolution: AI Photo Enhancer. It intelligently adds details to your images, increasing both size and quality. If your image resolution is relatively low, you can use Artguru Photo Enhancer, which can enlarge your image by up to 4 times. The process is very simple—just drag and drop your image, and you’ll get a much clearer, high-quality version.
Step 1: Upload

Drag and drop your low-resolution image, or choose it from your device, into Artguru Image Enhancer — up to 50 images at once.
Step 2: Upscaling
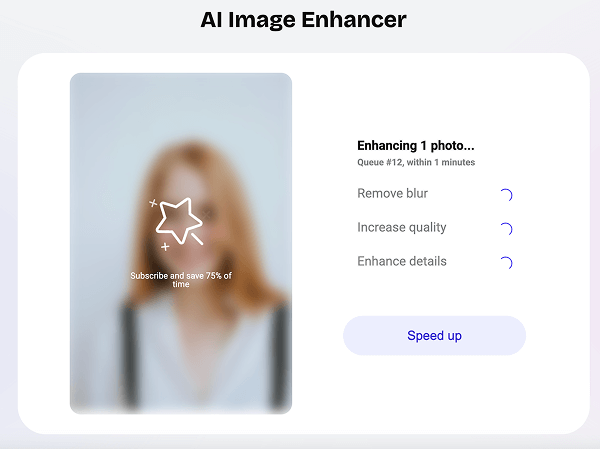
Artguru will automatically increase the resolution of your pictures and enhance them.
Step 3: Download

Preview the final result and if you are satisfied with your enhanced images, don’t forget to download them!
Conclusion
Ultimately, knowing how to increase resolution of images in Photoshop is about breaking creative barriers. You are no longer limited by a picture’s original state but are now empowered to intelligently repurpose any visual for high-quality formats, turning once-small images into assets ready for large prints or pixel-perfect screens.
FAQs About Photo Resolution
What are the best resolutions for print and web?
- Print: For high-quality prints viewed up close (like books, albums), the standard is 300 PPI.
- Web: For screen display, 72 to 150 PPI is recommended, but it’s more important to focus on the image’s pixel dimensions (e.g., ensure a website banner is at least 1920 pixels wide).
Can I really increase resolution without any quality loss?
Technically, the answer is no. Any upsampling process involves interpolation, which is an algorithm’s “guess,” and this is inherently a loss of quality. However, modern AI tools (like Photoshop’s “Super Resolution” and Artguru Photo Enhancer) can generate extremely realistic details, and the perceived quality of the result can be far superior to the original image, with minimal flaws, thus achieving an “effective” quality increase.
If you’re interested in learning how to resize images without losing quality, check out our detailed guide on this topic for more insights.
What’s the difference between “Image Size” and “Canvas Size”?
“Image Size” changes the pixel data of the image itself, equivalent to adjusting the size and number of tiles in a mosaic puzzle. “Canvas Size,” on the other hand, adds or removes blank workspace around the existing image, like pasting a small photo onto a larger piece of white paper—the photo itself does not change.